Flash MX Workspace provides easy access to everything you need to
create a movie.

A document consits of a
Timeline, which holds movie’s frames, layers and scenes; a Stage, where your
movie is displayed; and a work area, which extends beyond the Stage on all
sides but remains outside the visible frame of the final movie as it plays.
|
|
|
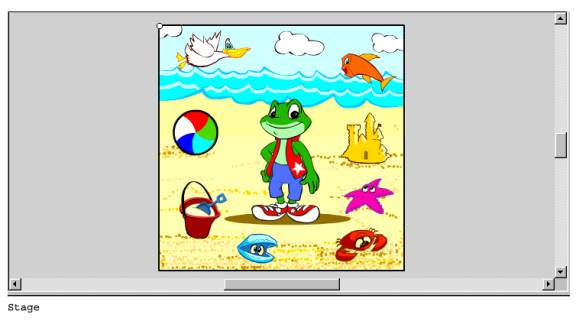
The stage is where you draw and import artwork, add text
and sound, and add aditional features such as navigation buttons or user
interface components. |
|
|
The toolbox contains the tools you’ll use to create,
place, and modify text and graphics. Toolbox: contains tools for creating and changing
graphics. View: use these tools to adjust your view of the
stage. Colors: click the color boxes to choose fill or stroke
colors. Options: whe you select a tools, its modifiers appear
in this part of the toolbox. |

|
|
The Panels in Flash assist you in working with objects on
the stage, the entire document, the Timeline, and actions. Choose the Window
menu to see a list of panels. You can display the panel
set you use most often by choosing Window > Panel Sets or by
creating a custom panel set. |

|
|
|
The Timeline organizes and control a movie’s content over
time. Like Films, Flash divides lenghts of time into frames. Each frame can
have its own content, or it can use the content of a previous frame. The Timeline creates a
strong visual link between keyframes and related frames that continue to
display the same content (the keyframe unit). Solid bullets indicate
content in a keyframe; hollow squares indicate the end frame of the unit.
In-between frames do not have bullets. A hollow bullet represents a blank
keyframe. When there is no content in a given keyframe unit, nothing appears
in the timeline. The playhead (red square at
the top) displays what is on the stage at that time or over time. LayersTo help organize the
content, the timeline is divided into layers. A background layer, for
example, may carry over into each frame of a movie, while an animation layer
may be for a specific frame. |

|
|
|
|
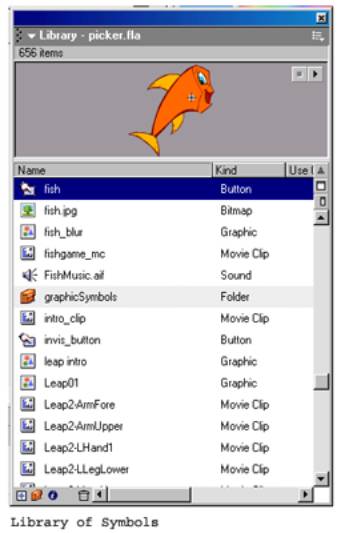
The Library panel stores reusable elements called symbols.
For example, if you want to
reuse a graphic, movie clip, or sound, you can drag it to the library, the
drag it to the Stage when you need it. Types of symbols in Flash In Flash, you must specify a
behavior for each symbol. Symbols have three behaviors: graphic, button, and
movie clip. Graphics are graphic elements, but they can also be animated
graphic elements. The feature that distinguishes one symbol behavior from another
is the way the symbol interacts with the Timeline of the movie in which it
appears. Graphic symbols operate in sync with the Timeline of the
current movie. If you have a static graphic symbol, it takes up one frame of
the movie in which you place it. A three-frame animated graphic symbol takes
up three frames of the movie. Buttons have their own four-frame
Timeline; a button sits in a single frame of a movie but displays its four
frames as a user’s mouse interacts with it. Movie Clips have their own
multiframe Timeline that plays independently of the main movie’s Timeline. |
|
|
|
|
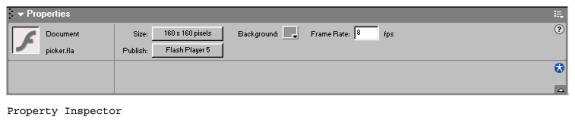
The Property Inspector displays the most frequently used settings for
a tool or object. |
|
|
|
Configuring Document
Properties is a common first step in authoring. You can use the Property
inspector and Document Properties dialog box to specify settings that affect
the entire movie, such as frame per seconds (fps) playback rate, and the
Stage size and background color. |
|
|
|
Action Script is the built in programming language provided
with Flash. You create Action Script in the Actions Panel. |